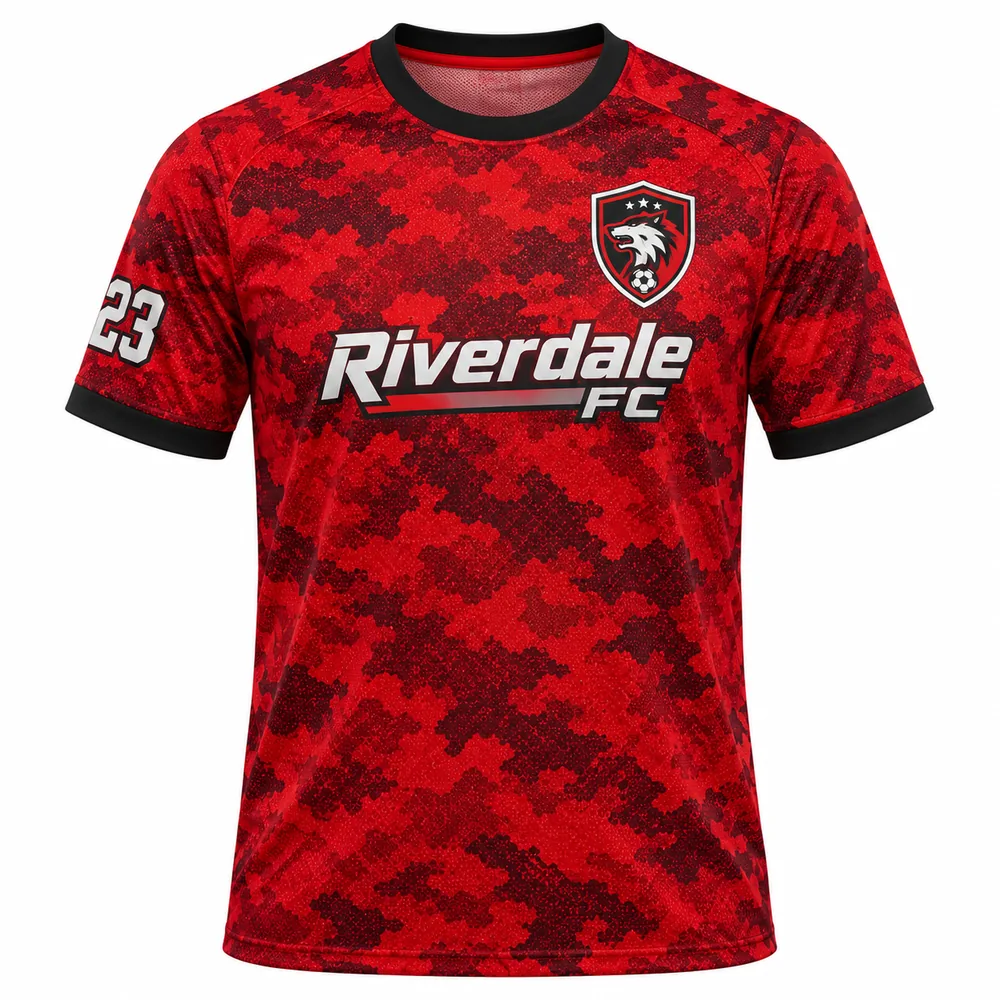
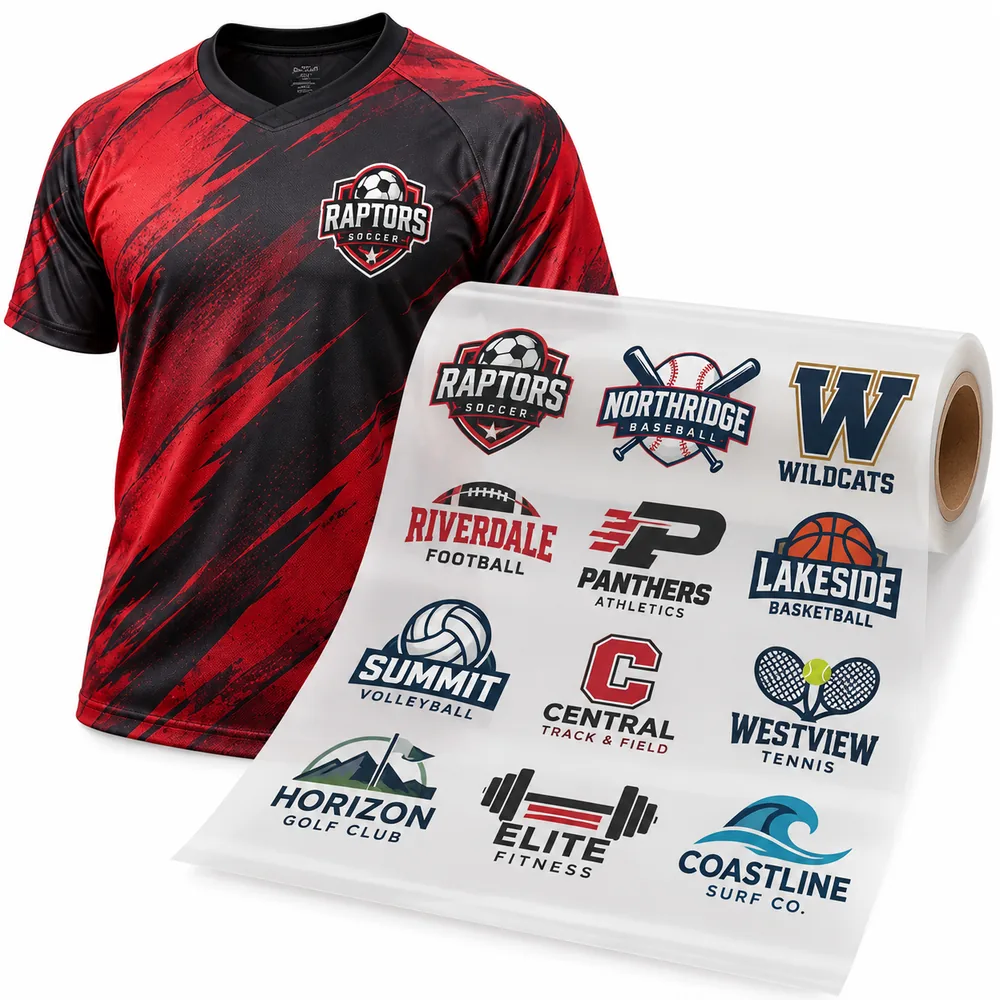
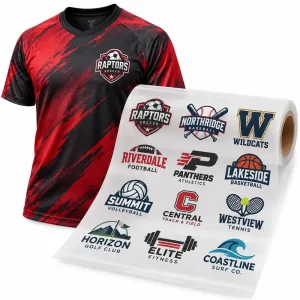
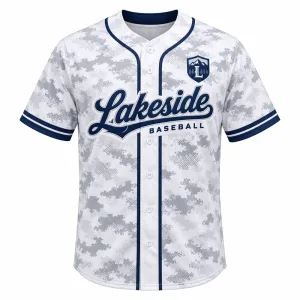
Low-Temperature Dye-Blocking Heat Transfers print a complete full-color design in a single press at just 260°F to 270°F, with every color included at once. A dye-blocking layer sits beneath the print, so sublimated polyester, patterned polyester, and technical stretch fabrics come out clean with no dye bleed and no scorch marks. There is no color limit, no weeding, and no stiff edge around the artwork, so detailed logos, gradients, and small text stay sharp on fabrics that would ruin an ordinary transfer.
The barrier is an invisible layer under the color that creates a true no-bleed result, while the low-cure adhesive bonds at a temperature gentle enough for heat-sensitive garments. Dye from sublimated and patterned polyester cannot migrate into the design over time, so whites stay white and bright colors stay clean. A white backing under the color keeps artwork vivid on both light and dark garments, and the print stretches and rebounds without cracking through regular wear. Spot-color matching keeps brand and team colors consistent across reorders, and metallic colors are available at no extra cost.
Seven finished sizes are available, from a 1.5 x 1.5 in chest mark to an 11.7 x 16.5 in full front or back. Every size is offered at every quantity, so one artwork file can run 10 pieces for a team and repeat unchanged at volume. The minimum is 10 identical pieces per design, with unit pricing that steps down at 20, 50, 100, 200, 300, 500, 1000, 2500, and 5000 pieces.
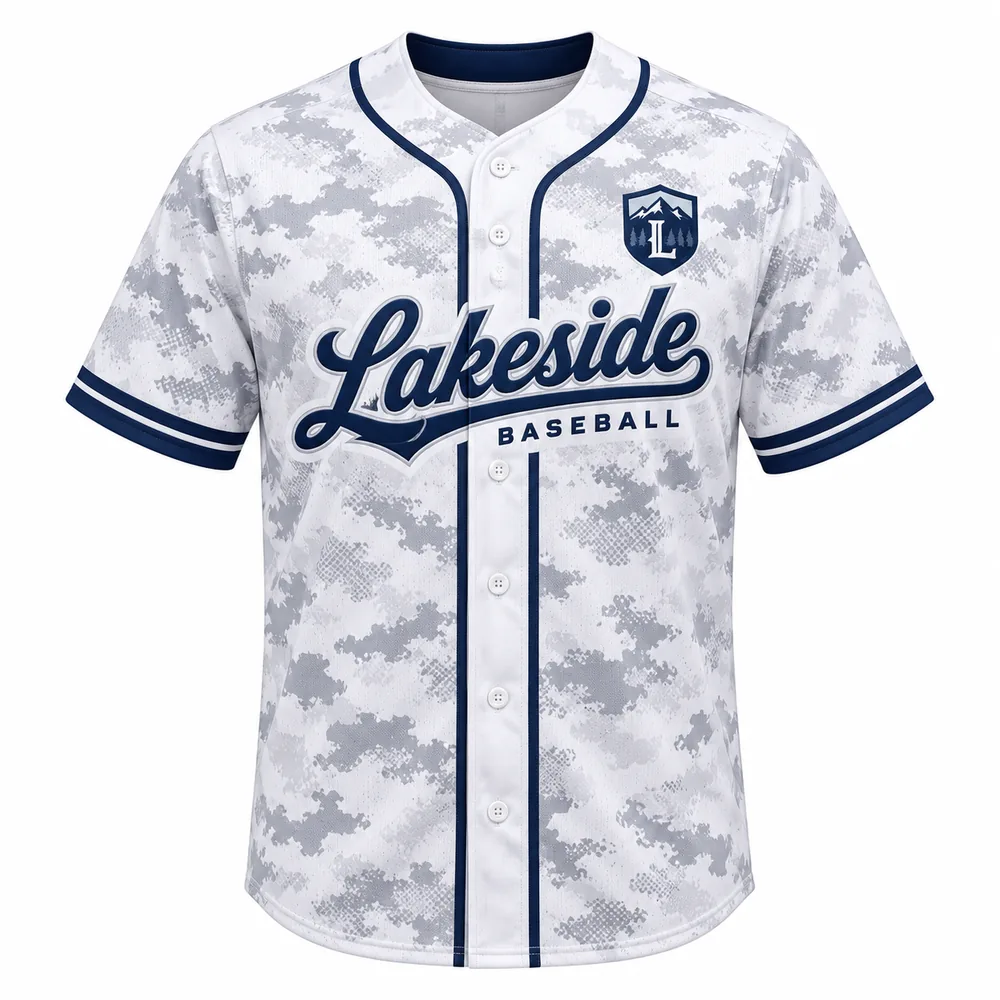
These transfers suit patterned polyester shirts and sportswear, sublimated polyester prone to dye migration, and technical stretch fabrics such as performance wear and tri-blends, plus water-resistant outer layers that still take a press. They also handle caps where the design does not cross a seam. They are not for fabrics that are 100 percent waterproof, where a promotional transfer is the safer choice, and all-over bag coverage suits a promotional transfer instead. For promotional gear the transfer may be used, but a promotional format gives the best results.
Application takes 12 to 15 seconds at 260°F to 270°F with medium-firm pressure at 30 to 40 psi, then a hot peel. Use an air-operated or manual heat press, not a domestic iron, a craft press, or any press without adequate pressure settings, and press a sample first when you change fabrics or settings. Supply one print-ready PDF with fonts outlined and fine lines at 0.6 pt or heavier, and every file is reviewed before printing. Production runs 1 to 2 business days. For heat-sensitive and sublimated fabrics that must not scorch or bleed, this is the format to order.
Application
Application & Care

Temperature
260°F to 270°F

Time
12 to 15 seconds

Pressure
30 to 40 psi / medium-firm (use a higher setting on a manual press)

Peel Method
Hot peel
Press Settings
| Setting |
Value |
| Press Temperature |
260°F to 270°F |
| Press Time |
12 to 15 seconds |
| Pressure |
30 to 40 psi / medium-firm (use a higher setting on a manual press) |
| Peel Method |
Hot peel |
| Press Type |
Air-operated or manual heat press |
Step-by-Step Application
- Prepare the garment. Press the blank first to remove wrinkles and surface moisture. On sublimated or patterned polyester, confirm the fabric is smooth and dry, since moisture encourages dye movement.
- Place the transfer. Position the transfer printed side up, on top of the fabric and not over a seam. The finished size of the transfer is the finished size of the print.
- Close the press. Set the platen to 260°F to 270°F and close with medium-firm pressure at 30 to 40 psi. On a manual press, use a higher pressure setting.
- Hold. Keep the press closed for 12 to 15 seconds. Do not shorten the dwell, because the low-cure adhesive and the blocking layer need the full time to bond at the lower temperature.
- Peel hot. Open the press and peel the carrier away immediately while the print is still warm, with a slow steady pull at roughly a 180-degree angle.
- Check the result. Confirm the edges are fully bonded, the fabric shows no scorch or shine, and the colors are clean before continuing with the rest of the run.
Important Precautions
- Use an air-operated or manual heat press, not a domestic iron, a craft press, or any press without adequate pressure settings.
- Do not press on fabrics that are 100 percent waterproof. Use a promotional transfer on those shells.
- Do not press a headwear design across a seam or over mesh; use a headwear-specific transfer for seamed caps.
- When in doubt about scorch or dye stability, press a sample first and check it after cooling before running production.
- Always perform a test press before starting full production. We are not responsible for damaged garments.
Care Instructions
- Wash Cold Inside Out.
- Best if Hang Dry or No Heat if Must Tumble Dry Low Heat.
- Do Not Bleach.
- Do Not Iron Imprint/Transfer.
- Do Not Dry Clean.
- Best Not to use fabric softener.
Always perform a test press before full production to verify adhesion, application settings, and garment compatibility.
Need help with application or choosing the right transfer?
Request a Quote
Shipping
Shipping & Turnaround
Production Time
Production runs 1–2 business days. Delivery time depends on your location and the shipping method selected at checkout.
Shipping Options & Rates
Flat-rate shipping options are available at checkout:
| Shipping Method |
Rate |
| USPS Ground |
$10.95 |
| UPS Ground |
$15.95 |
| FedEx 2Day |
$20.95 |
Final shipping options, eligibility, and charges are determined at checkout.
Free Shipping & Tracking
Free USPS Ground Shipping is available on eligible full-color orders over $125.
Shipping is calculated at checkout, and tracking information is provided when your order ships.
Need a rush order or have special shipping requirements?
Request a Quote
Artwork Requirements
Artwork Requirements
Print-Ready Basics
Prepare your design at the intended finished size for the best printing results. Clean artwork, accurate dimensions, and properly prepared files help preserve detail and color.
- Prepare artwork at the intended finished printing size.
- Use one clearly identified artwork file per design.
- Convert all fonts to outlines or shapes.
- Check spelling, colors, dimensions, and orientation.
- Use transparent backgrounds wherever no printing is intended.
- Include any special design requirements in your order notes.
Accepted File Formats
High-quality PDF files exported from vector artwork are preferred. Other vector and raster formats can also be submitted for review.
- Preferred Format: High-quality PDF
- Vector Formats: AI, EPS, CDR, SVG
- Raster Formats: PSD, PNG, JPG
- Raster Resolution: At least 300 PPI at the finished printing size.
- Linked Images: Embed all linked images in the submitted file.
For designs with transparent areas, PNG or PSD is preferable to JPG. JPG files should only be used when the entire rectangular background is intended to print.
Color & Design Setup
Color preparation depends on the selected transfer type. Use the correct color settings for the printing process and make sure the submitted design represents the intended finished artwork.
- SupaDTF: Prepare artwork using CMYK color mode. Pantone color matching is not available for SupaDTF.
- Pantone-Matched Products: Where matching is supported, use official Pantone Solid Coated (C) colors.
- Specialty Colors: Certain neons, pastels, and premium metallic colors cannot be matched exactly.
- Transparency: Keep non-printing areas transparent and avoid unwanted solid backgrounds.
- Effects: Semi-transparent glows, fades, and shadows may need to be converted into solid-edged artwork.
Minimum Detail & Text Requirements
Fine details should be large enough to reproduce cleanly. Avoid excessively thin free-floating lines and ensure that text and vector effects are prepared correctly.
| Requirement |
Minimum |
| Free-Floating Line Thickness |
0.6 pt / 0.2 mm |
- Convert all editable text to outlines or shapes.
- Embed linked artwork and images.
- Expand pattern fills before submitting vector artwork.
- Keep small design elements clear and avoid excessively fine details.
Before Uploading Your Artwork
- Verify the finished printing dimensions.
- Confirm that the artwork uses the appropriate color setup.
- Check that text has been converted to outlines or shapes.
- Verify that transparent areas will remain unprinted.
- Review fine lines and small design elements.
- Upload the artwork using the product configurator.
- Add important artwork instructions or special requests to your order notes.
If you are unsure whether your artwork is suitable, submit the best available file and explain any concerns in your order notes so the artwork can be reviewed.
Need help preparing your artwork?
Request a Quote