Description
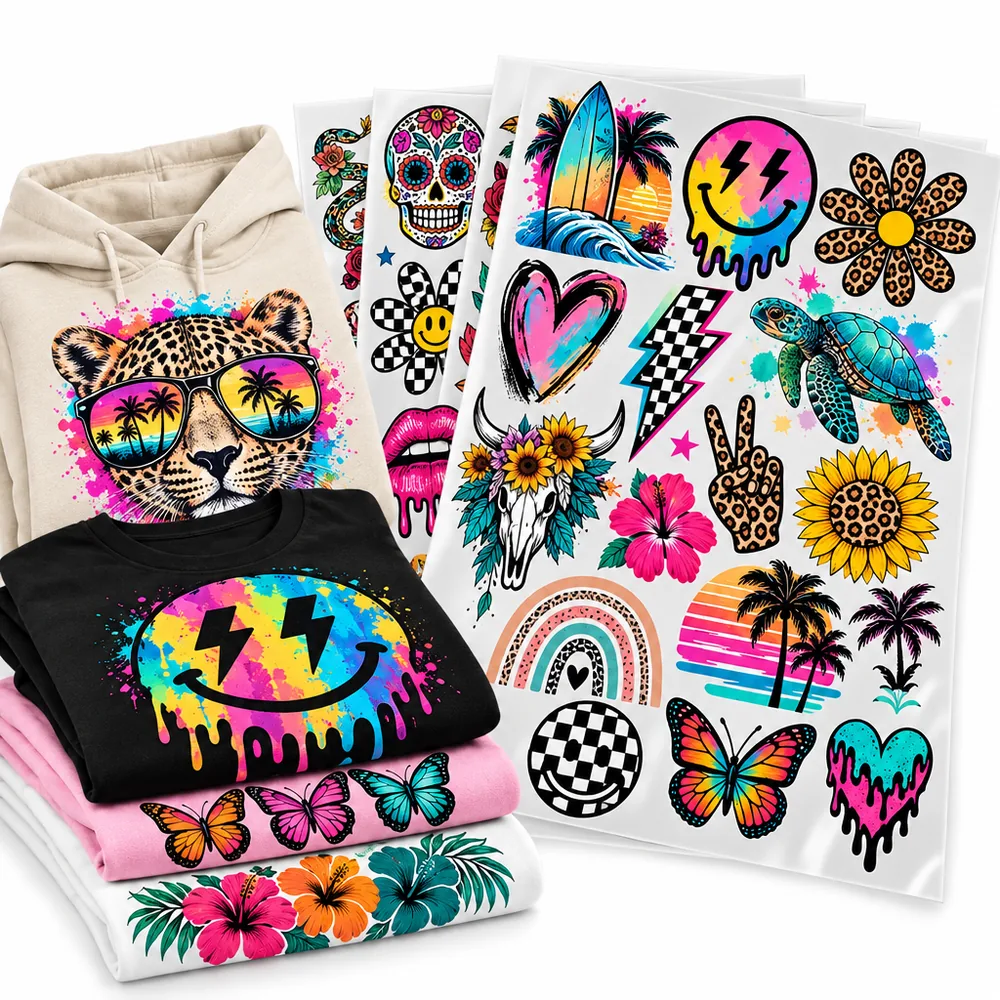
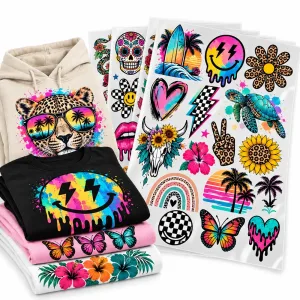
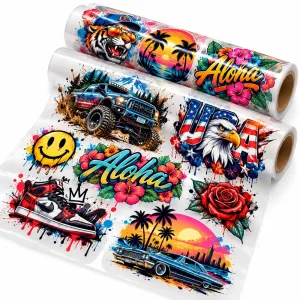
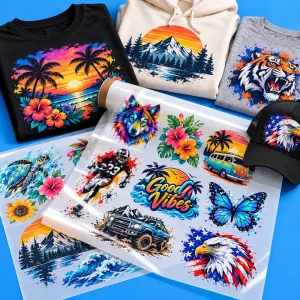
DTF Heat Transfers – Gang Sheets print multiple designs on one sheet in a single press, with every color included at once. There is no color limit, no weeding, and no stiff edge around the artwork, so detailed logos, gradients, and small text stay clean. The print releases with a hot peel and leaves a soft hand with no glue line around the border.
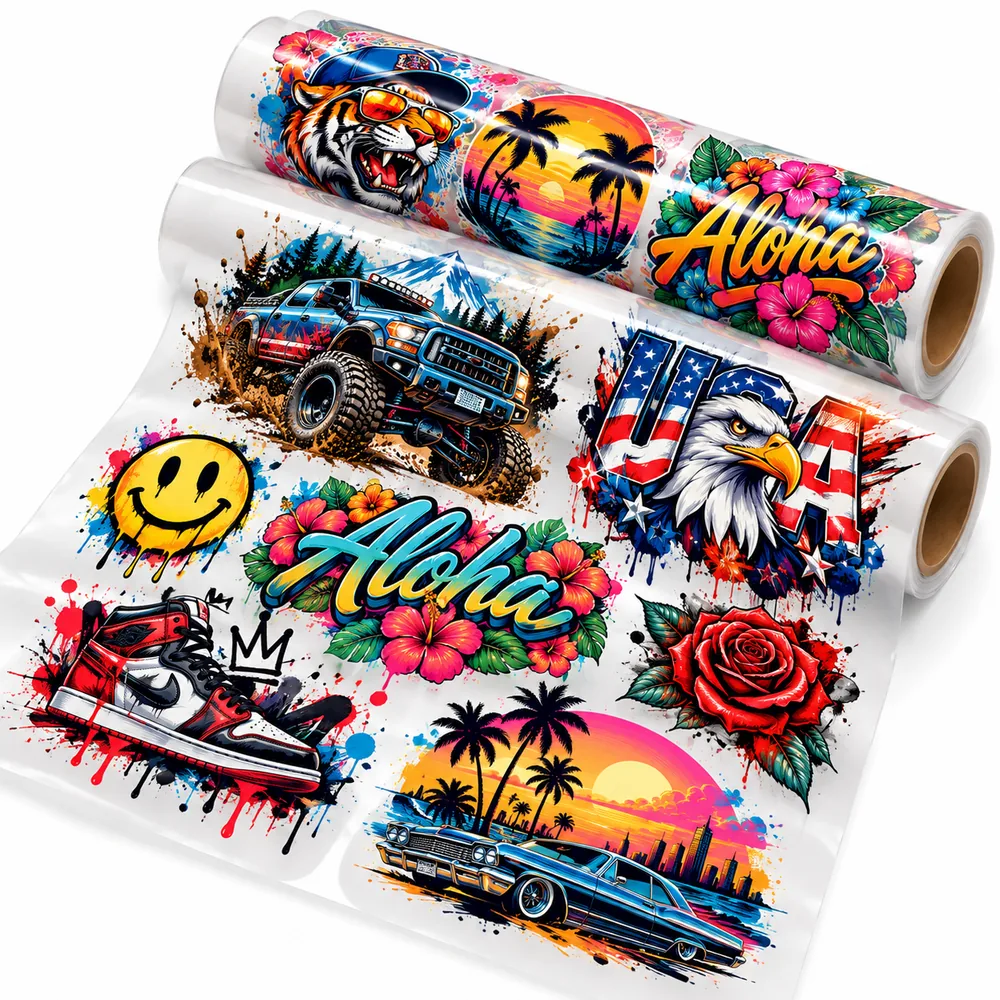
Five finished sheet sizes are available on 22-inch-wide rolls, from 22 x 12 in for small runs to 22 x 180 in for full production. Every size is offered at every quantity, so one completed sheet file can run a single sheet for a sample and repeat unchanged at volume. The minimum is one sheet per order, with unit pricing that steps down at 10 sheets, which keeps samples practical while larger runs cost less per sheet.
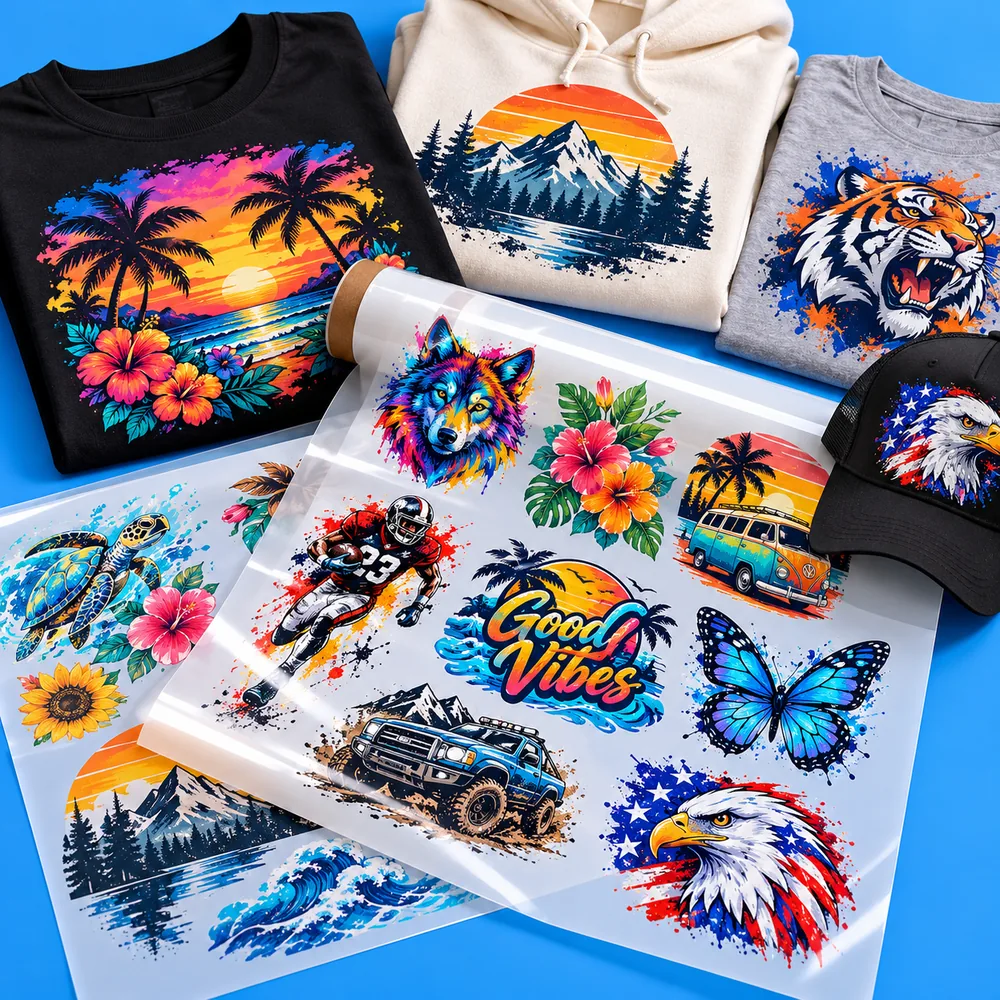
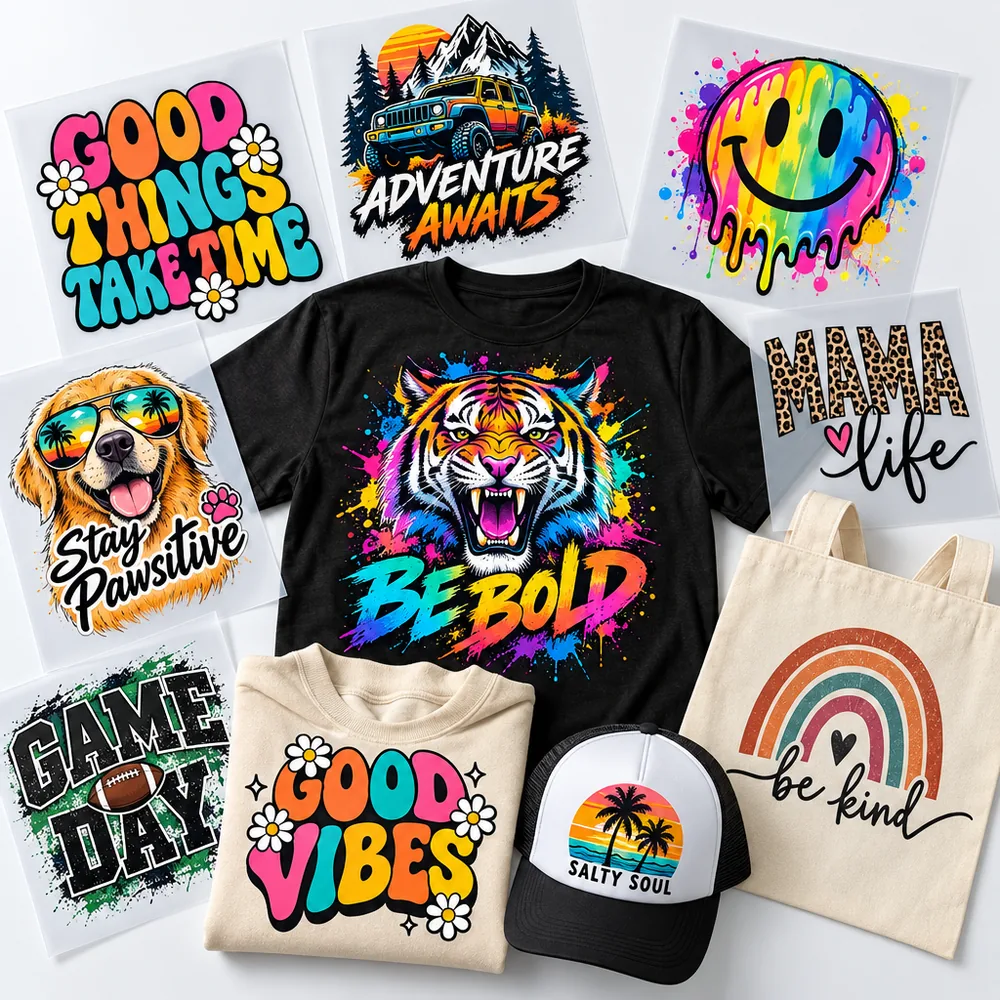
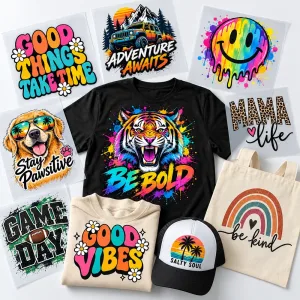
These transfers suit cotton, polycotton blends, fleece, light denim, lycra, nylon, elastane, and non-sublimated polyester. That covers tees, hoodies, sweatshirts, stretchy athleisure, and cotton tote bags. They are not intended for waterproof coatings, sublimated or patterned polyester, or dark denim where dye can migrate, and a blocking transfer is the safer choice there. Headwear works only where the design does not cross a seam, such as the front of a five-panel cap.
The print holds up through regular wear. Independent lab testing ran this transfer through 70 wash cycles with strong color retention and no cracking or peeling, and the inks are water-based, phthalate-free, and lead-free with certified materials. Application takes 12 to 15 seconds at 280°F to 320°F with firm 40 psi pressure, then a hot peel. Use an air-operated or manual heat press, not a domestic iron or a low-pressure craft press, and press a sample first when you change fabrics or settings.
Supply one print-ready gang sheet file arranged to the selected sheet dimensions, ideally exported from vector software, with fonts outlined and fine lines kept clear, and every file is reviewed before printing. Production runs 1 to 2 business days after artwork approval. For multiple designs in full color that press fast, feel soft, and hold up in regular wear, order this gang-sheet format and upload your completed sheet.
Pricing
Per-sheet prices below show how unit cost falls as quantity rises. Find your finished sheet size and quantity, then order in the configurator. It calculates your exact total live, and cart and checkout totals apply. Minimum one sheet per order. For a single design in one finished size, choose a single-image transfer instead.
| Size (in) |
1 |
10 |
50 |
100+ |
| 22 x 12 |
$20.58 |
$16.95 |
$16.95 |
$16.95 |
| 22 x 24 |
$29.46 |
$26.52 |
$26.52 |
$26.52 |
| 22 x 60 |
$77.08 |
$69.38 |
$69.38 |
$69.38 |
| 22 x 120 |
$137.05 |
$123.35 |
$123.35 |
$123.35 |
| 22 x 180 |
$162.23 |
$146.01 |
$146.01 |
$146.01 |
Volume discounts apply automatically. Final totals calculate live in the configurator. For larger quantities, Request a Quote.
Need a larger quantity? Get a custom quote!
Request a Quote
FAQ
Frequently Asked Questions
What is this transfer?
A full-color garment transfer pressed with heat, supplied on a gang sheet. One completed sheet file produces every color at once across one or multiple designs, with a soft feel, no weeding, and a hot peel.
How is it different from a single-image transfer?
A single-image transfer prints one design in one finished size. This gang-sheet format holds multiple designs, sizes, and placements arranged on one 22-inch-wide sheet, which suits mixed logos, sleeve graphics, and neck labels in one order.
What sizes can I order?
Five finished sheet sizes on 22-inch-wide rolls, from 22 x 12 in up to 22 x 180 in. The largest covers full production runs, and every size is available at every quantity.
What is the minimum order?
One sheet per order. Arrange one or multiple designs within the selected sheet dimensions and upload as one completed file.
How does quantity pricing work?
Any quantity from one sheet upward. Unit cost steps down at 10 sheets, so larger runs cost less per sheet.
Which fabrics work best?
Cotton, polycotton blends, fleece, light denim, lycra, nylon, elastane, and non-sublimated polyester. In practice, that covers tees, hoodies, sweatshirts, sportswear, and cotton tote bags.
Which fabrics should I avoid?
Avoid waterproof coatings, sublimated or patterned polyester, and fabrics where dye can migrate, including dark denim. A blocking transfer is the safer choice on those fabrics.
Can I use it on caps or tote bags?
Cotton tote bags press well. Caps work only where the design does not cross a seam, such as the front of a five-panel cap. For seams or mesh, use a headwear-specific transfer.
Do you match brand colors?
Colors print close but are not an exact Pantone match, and metallics are not available on this transfer. For exact spot-color matching, use a screen-printed format.
What press settings do I use?
280°F to 320°F for 12 to 15 seconds at 40 psi firm, then peel hot. Use a higher setting on a manual press. Full steps are on the Application tab.
What press do I need?
An air-operated or manual heat press. A domestic iron or a low-pressure craft press will not bond the transfer correctly.
How durable is the print?
Independently lab tested to 70 wash cycles with strong color retention and no cracking or peeling, with water-based inks and certified materials.
How fast will my order produce?
Production runs 1 to 2 business days after artwork approval. Delivery time depends on location and the shipping method selected at checkout.
What artwork file should I upload?
One completed gang sheet file per order, arranged to the selected sheet size, PDF preferred from vector software. Outline all fonts and keep fine lines clear. PDF, AI, EPS, SVG, PSD, TIFF, PNG, and JPG are accepted. Upload the completed sheet through the configurator artwork slot.
Still have questions or need a custom order?
Request a Quote
Application
Application & Care

Temperature
280°F to 320°F

Time
12 to 15 seconds

Pressure
40 psi / firm (use a higher setting on a manual press)

Peel Method
Hot peel
Press Settings
| Setting |
Value |
| Press Temperature |
280°F to 320°F |
| Press Time |
12 to 15 seconds |
| Pressure |
40 psi / firm (use a higher setting on a manual press) |
| Peel Method |
Hot peel |
| Press Type |
Air-operated or manual heat press |
Step-by-Step Application
-
Prepare the garment. Press the blank first to remove wrinkles and surface moisture. Wrinkles under the transfer are the most common cause of lifting.
-
Place the transfer. Position the transfer printed side up, on top of the fabric and not over a seam. The finished size of the transfer is the finished size of the print.
-
Close the press. Set the platen to 280°F to 320°F and close with firm pressure at 40 psi. On a manual press, use a higher pressure setting.
-
Hold. Keep the press closed for 12 to 15 seconds. Do not shorten the dwell, because the adhesive needs the full heat and time to bond.
-
Peel hot. Open the press and peel the carrier away immediately while the print is still warm, with a slow steady pull at roughly a 180-degree angle.
-
Check the result. Confirm the edges are fully bonded before continuing with the rest of the run.
Important Precautions
- Use an air-operated or manual heat press, not a domestic iron or a low-pressure craft press.
- Do not press on coated, waterproof, sublimated, or patterned fabric, or where dye can migrate, including dark denim. Use a blocking transfer on those fabrics.
- Do not press a headwear design across a seam or over mesh.
- Press a sample first when changing fabric or press settings.
- Always perform a test press before starting full production. We are not responsible for damaged garments.
Care Instructions
- Wash Cold Inside Out.
- Best if Hang Dry or No Heat if Must Tumble Dry Low Heat.
- Do Not Bleach.
- Do Not Iron Imprint/Transfer.
- Do Not Dry Clean.
- Best Not to use fabric softener.
Always perform a test press before full production to verify adhesion, application settings, and garment compatibility.
Need help with application or choosing the right transfer?
Request a Quote
Shipping
Shipping & Turnaround
Production Time
Production runs 1–2 business days. Delivery time depends on your location and the shipping method selected at checkout.
Shipping Options & Rates
Flat-rate shipping options are available at checkout:
| Shipping Method |
Rate |
| USPS Ground |
$10.95 |
| UPS Ground |
$15.95 |
| FedEx 2Day |
$20.95 |
Final shipping options, eligibility, and charges are determined at checkout.
Free Shipping & Tracking
Free USPS Ground Shipping is available on eligible full-color orders over $125.
Shipping is calculated at checkout, and tracking information is provided when your order ships.
Need a rush order or have special shipping requirements?
Request a Quote
Artwork Requirements
Artwork Requirements
Print-Ready Basics
Prepare your design at the intended finished size for the best printing results. Clean artwork, accurate dimensions, and properly prepared files help preserve detail and color.
- Prepare artwork at the intended finished printing size.
- Use one clearly identified artwork file per design.
- Convert all fonts to outlines or shapes.
- Check spelling, colors, dimensions, and orientation.
- Use transparent backgrounds wherever no printing is intended.
- Include any special design requirements in your order notes.
Accepted File Formats
High-quality PDF files exported from vector artwork are preferred. Other vector and raster formats can also be submitted for review.
- Preferred Format: High-quality PDF
- Vector Formats: AI, EPS, CDR, SVG
- Raster Formats: PSD, PNG, JPG
- Raster Resolution: At least 300 PPI at the finished printing size.
- Linked Images: Embed all linked images in the submitted file.
For designs with transparent areas, PNG or PSD is preferable to JPG. JPG files should only be used when the entire rectangular background is intended to print.
Color & Design Setup
Color preparation depends on the selected transfer type. Use the correct color settings for the printing process and make sure the submitted design represents the intended finished artwork.
- SupaDTF: Prepare artwork using CMYK color mode. Pantone color matching is not available for SupaDTF.
- Pantone-Matched Products: Where matching is supported, use official Pantone Solid Coated (C) colors.
- Specialty Colors: Certain neons, pastels, and premium metallic colors cannot be matched exactly.
- Transparency: Keep non-printing areas transparent and avoid unwanted solid backgrounds.
- Effects: Semi-transparent glows, fades, and shadows may need to be converted into solid-edged artwork.
Minimum Detail & Text Requirements
Fine details should be large enough to reproduce cleanly. Avoid excessively thin free-floating lines and ensure that text and vector effects are prepared correctly.
| Requirement |
Minimum |
| Free-Floating Line Thickness |
0.6 pt / 0.2 mm |
- Convert all editable text to outlines or shapes.
- Embed linked artwork and images.
- Expand pattern fills before submitting vector artwork.
- Keep small design elements clear and avoid excessively fine details.
Before Uploading Your Artwork
- Verify the finished printing dimensions.
- Confirm that the artwork uses the appropriate color setup.
- Check that text has been converted to outlines or shapes.
- Verify that transparent areas will remain unprinted.
- Review fine lines and small design elements.
- Upload the artwork using the product configurator.
- Add important artwork instructions or special requests to your order notes.
If you are unsure whether your artwork is suitable, submit the best available file and explain any concerns in your order notes so the artwork can be reviewed.
Need help preparing your artwork?
Request a Quote